- Afrikaans
- Albanian
- Amharic
- Arabic
- Armenian
- Azerbaijani
- Basque
- Belarusian
- Bengali
- Bosnian
- Bulgarian
- Catalan
- Cebuano
- Corsican
- Croatian
- Czech
- Danish
- Dutch
- انگریزی
- Esperanto
- Estonian
- Finnish
- French
- Frisian
- Galician
- Georgian
- German
- Greek
- Gujarati
- Haitian Creole
- hausa
- hawaiian
- Hebrew
- Hindi
- Miao
- Hungarian
- Icelandic
- igbo
- Indonesian
- irish
- Italian
- Japanese
- Javanese
- Kannada
- kazakh
- Khmer
- Rwandese
- Korean
- Kurdish
- Kyrgyz
- Lao
- Latin
- Latvian
- Lithuanian
- Luxembourgish
- Macedonian
- Malgashi
- Malay
- Malayalam
- Maltese
- Maori
- Marathi
- Mongolian
- Myanmar
- Nepali
- Norwegian
- Norwegian
- Occitan
- Pashto
- Persian
- Polish
- Portuguese
- Punjabi
- Romanian
- Russian
- Samoan
- Scottish Gaelic
- Serbian
- Sesotho
- Shona
- Sindhi
- Sinhala
- Slovak
- Slovenian
- Somali
- Spanish
- Sundanese
- Swahili
- Swedish
- Tagalog
- Tajik
- Tamil
- Tatar
- Telugu
- Thai
- Turkish
- Turkmen
- Ukrainian
- Urdu
- Uighur
- Uzbek
- Vietnamese
- Welsh
- Bantu
- Yiddish
- Yoruba
- Zulu
How to Correctly Install and Remove Casing Pup Joint to Ensure that Threads are not Damaged
Proper installation and disassembly of tubing coupling or casing pup joint to ensure that the threads are not damaged is an important step in ensuring the safety and stability of pipeline systems. The following are specific steps and precautions.
Steps and Precautions for Installing Casing Pup Joint
preparation:
Confirm whether the model, specifications, and material of the casing pup joint meet the design requirements.
Check for damage, rust, or foreign objects on the casing pup joint and threaded parts of the casing to ensure cleanliness and absence of impurities.
Prepare necessary installation tools and auxiliary materials, such as wrenches, lubricants, sealing gaskets, etc.
Pre installation processing:
Apply an appropriate amount of lubricant to the threaded part to reduce friction and wear during installation, while improving sealing performance.
Check whether the pipes or fittings connected to the casing pup joint have been cleaned and confirm that their size and thread type match the casing pup joint.
Installation operation:
Align the sleeve with the pipe or fitting to be connected, ensuring that the threaded part is aligned.
Slowly rotate the sleeve to casing pup joint and gradually screw it into the connected pipe or fitting. Pay attention to maintaining appropriate force and speed to avoid excessive force causing thread damage.
During the rotation process, the position and angle of the casing pup joint can be adjusted in a timely manner to ensure smooth insertion and reach the predetermined connection depth.
After installation, check if the connections are secure, if the sealing is good, and make necessary tightening and adjustments.
Steps and Precautions for Dismantling the Casing Pup Joint
preparation:
Confirm the location and status of the casing pup joint that needs to be disassembled.
Prepare corresponding disassembly tools and auxiliary materials, such as wrenches, lubricants (used to loosen threads if necessary), etc.
Pre disassembly treatment:
If the threaded part becomes tight or corroded due to prolonged use, an appropriate amount of lubricant can be applied first to loosen it.
Remove dust and debris from the casing pup joint and its surrounding area to ensure a clean operating environment.
Disassembly operation:
Use a suitable wrench or other tool to clamp the head or threaded part of the casing short circuit.
Slowly rotate the wrench to gradually unscrew the casing pup joint from the connected pipe or fitting. Pay attention to maintaining appropriate force and speed to avoid excessive force that may cause thread damage or breakage.
If encountering high resistance, you can gently tap on the casing pup joint or connected pipes/fittings of the casing to assist in loosening. But do not use excessive force or improper tools to strike to avoid damaging the threads or connecting components.
After disassembly, check for any damage or rust on the threaded part and perform necessary cleaning and maintenance work.
The key to installing and dismantling casing pup joint is to maintain appropriate force and speed, use appropriate tools and materials, and ensure a clean and tidy operating environment. By following the above steps and precautions, thread damage can be effectively avoided and the normal use of casing pup joint can be ensured. At the same time, regular inspection and maintenance of casing pup joint is also an important measure to ensure its long-term stable operation.
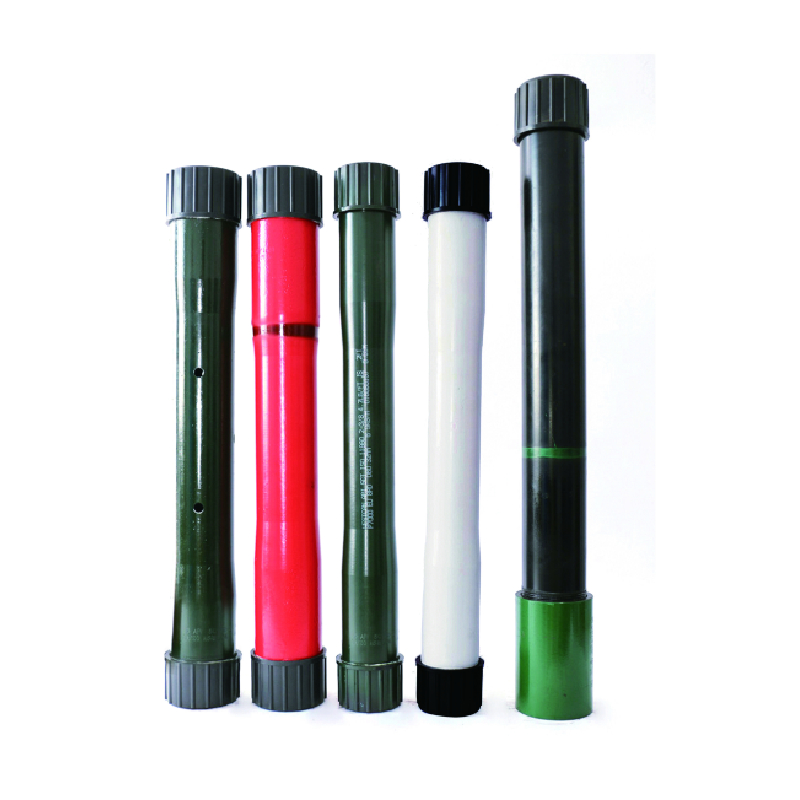
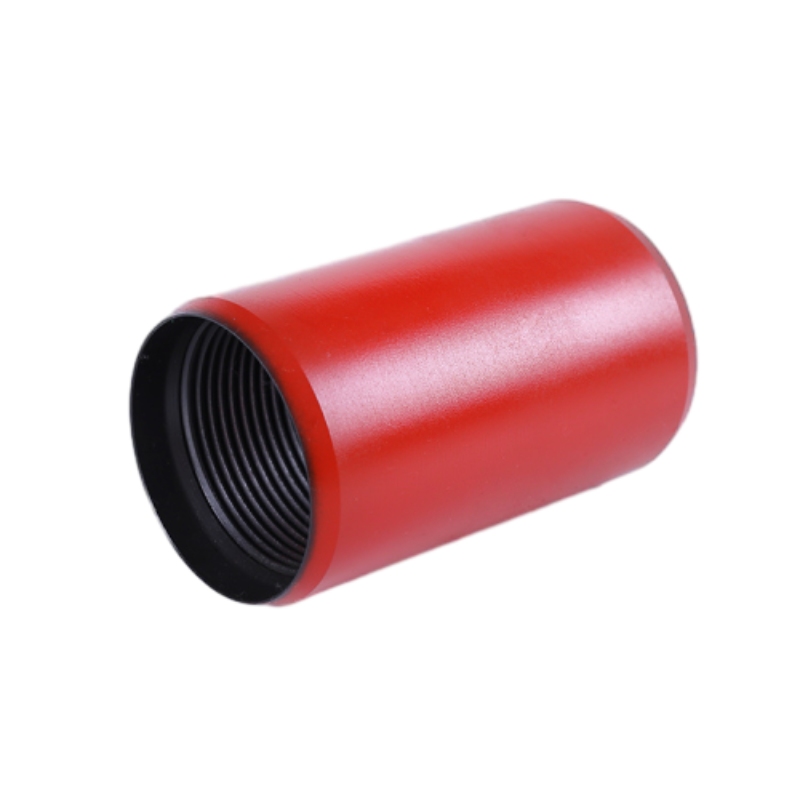
As a company special in petroleum equipment, our business scope is very broad .We have casing coupling , casing pup joint , tubing crossover and tubing coupling. About the casing pup joint ,we have different type of it. Such as API pup joint , drill pipe pup joint , crossover pup joint and perforated pup joints .The casing pup joint price in our company are reasonable . If you are interesting in our product welcome to contact us!
-
Tubing Crossover - API Compatible, Custom Sizes, In StockخبریںNov.10,2025
-
Tubing Coupling | High-Strength, Leak-Proof Steel CouplingsخبریںNov.10,2025
-
Wholesale API Threading Casing Coupling | API 5CT, Fast ShipخبریںNov.10,2025
-
Pup Joint Supplier | API Certified, Custom, Quick ShipخبریںNov.10,2025
-
Pup Joint Manufacturers | Precision Machined, Fast DeliveryخبریںNov.10,2025
-
Tubing Coupling | Precision Steel, Leak-Proof, Fast DeliveryخبریںNov.03,2025


